Several years ago I wrote a series of posts on how to run EL6 with its root filesystem on tmpfs. This post is a continuation of that series, and explains step by step how to run CentOS 7 with its root filesystem in memory. It should apply to RHEL, Ubuntu, Debian and other Linux distributions as well. The post is a bit terse to focus on the concept, and several of the steps have potential for improvements.
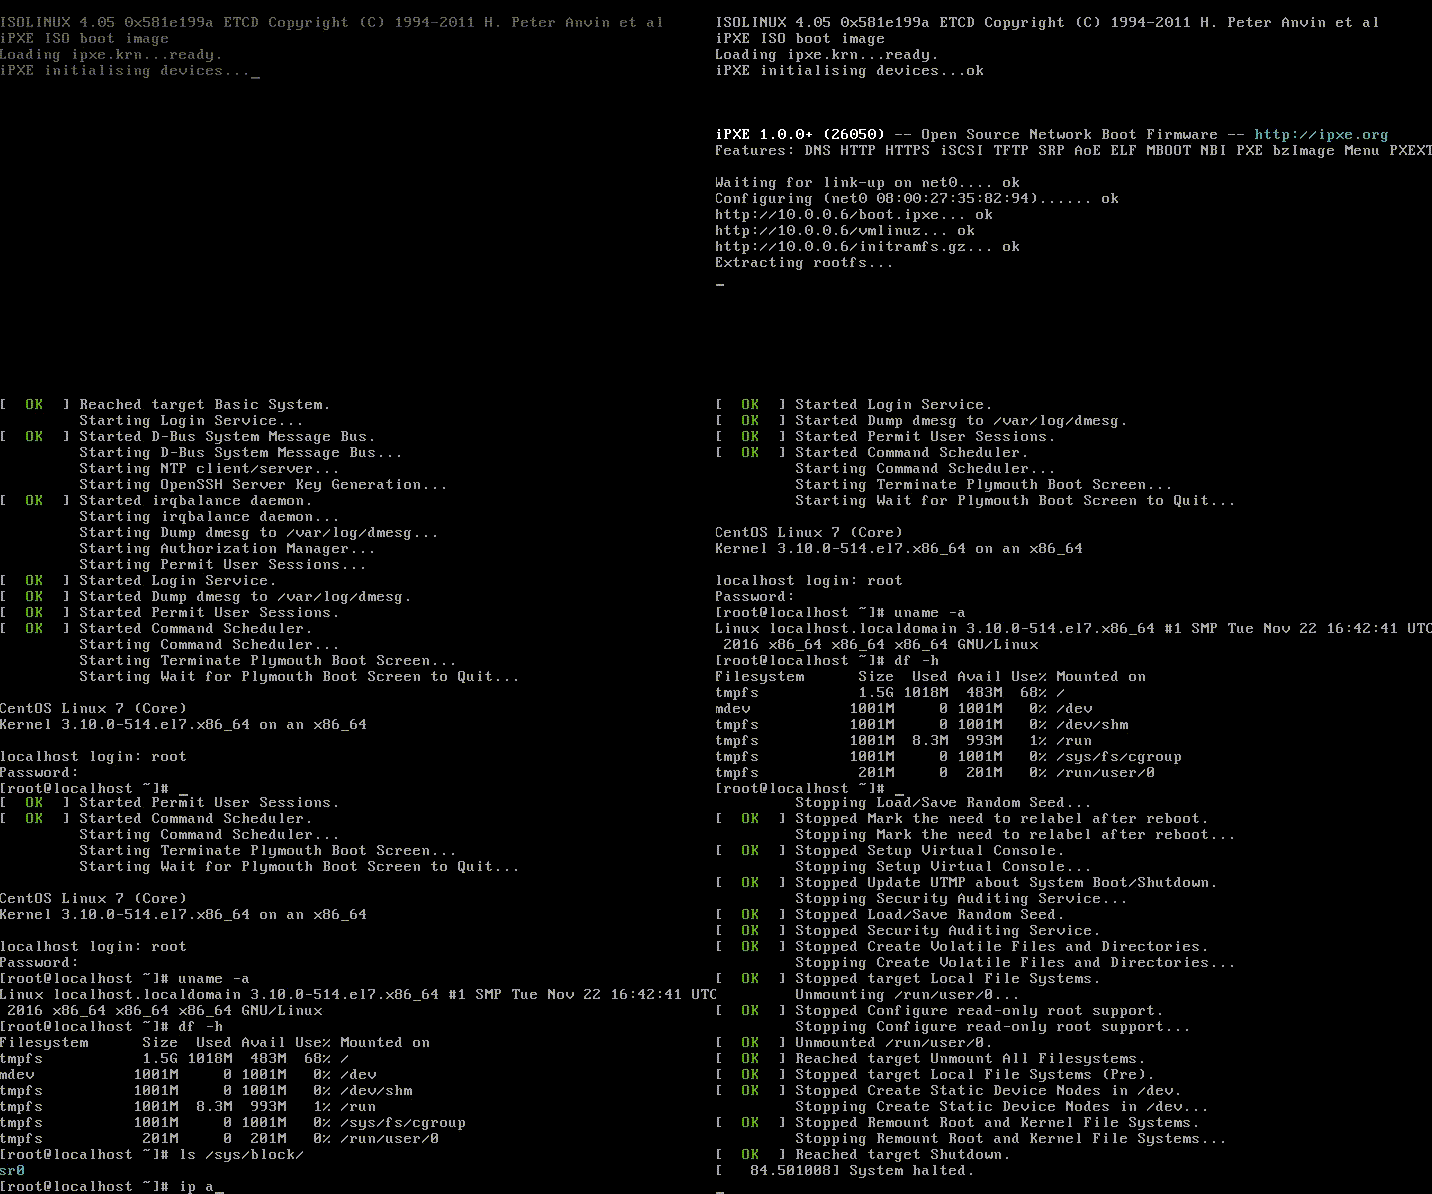
The following is a screen recording from a host running CentOS 7 in tmpfs:

A build host is needed to prepare the image to boot from. The build host should run CentOS 7 x86_64, and have the following packages installed:
yum install libvirt libguestfs-tools guestfish
Make sure the libvirt daemon is running:
systemctl start libvirtd
Create some directories that will be used later, however feel free to relocate these to somewhere else:
mkdir -p /work/initramfs/bin
mkdir -p /work/newroot
mkdir -p /work/result
For simplicity reasons we’ll fetch our rootfs from a pre-built disk image, but it is possible to build a custom disk image using virt-manager. I expect that most people would like to create their own disk image from scratch, but this is outside the scope of this post.
Use virt-builder to download a pre-built CentOS 7.3 disk image and set the root password:
virt-builder centos-7.3 -o /work/disk.img --root-password password:changeme
Export the files from the disk image to one of the directories we created earlier:
guestfish --ro -a /work/disk.img -i copy-out / /work/newroot/
Clear fstab since it contains mount entries that no longer apply:
echo > /work/newroot/etc/fstab
SELinux will complain about incorrect disk label at boot, so let’s just disable it right away. Production environments should have SELinux enabled.
echo "SELINUX=disabled" > /work/newroot/etc/selinux/config
Disable clearing the screen on login failure to make it possible to read any error messages:
mkdir /work/newroot/etc/systemd/system/getty@.service.d
cat > /work/newroot/etc/systemd/system/getty@.service.d/noclear.conf << EOF
[Service]
TTYVTDisallocate=no
EOF
We’ll create our custom initramfs from scratch. The boot procedure will be, simply put:
/init (in the initramfs).tmpfs mount point.tmpfs mount point.switch_root to boot on the CentOS 7 root filesystem.The initramfs will be based on BusyBox. Download a pre-built binary or compile it from source, put the binary in the initramfs/bin directory. In this post I’ll just download a pre-built binary:
wget -O /work/initramfs/bin/busybox https://www.busybox.net/downloads/binaries/1.26.1-defconfig-multiarch/busybox-x86_64
Make sure that busybox has the execute bit set:
chmod +x /work/initramfs/bin/busybox
Create the file /work/initramfs/init with the following contents:
#!/bin/busybox sh

# Dump to sh if something fails
error() {
	echo "Jumping into the shell..."
	setsid cttyhack sh
}

# Populate /bin with binaries from busybox
/bin/busybox --install /bin

mkdir -p /proc
mount -t proc proc /proc

mkdir -p /sys
mount -t sysfs sysfs /sys

mkdir -p /sys/dev
mkdir -p /var/run
mkdir -p /dev

mkdir -p /dev/pts
mount -t devpts devpts /dev/pts

# Populate /dev
echo /bin/mdev > /proc/sys/kernel/hotplug
mdev -s

mkdir -p /newroot
mount -t tmpfs -o size=1500m tmpfs /newroot || error

echo "Extracting rootfs... "
xz -d -c -f rootfs.tar.xz | tar -x -f - -C /newroot || error

mount --move /sys /newroot/sys
mount --move /proc /newroot/proc
mount --move /dev /newroot/dev

exec switch_root /newroot /sbin/init || error
Make sure it is executable:
chmod +x /work/initramfs/init
Create the root filesystem archive using tar. The following command also uses xz compression to reduce the final size of the archive (from approximately 1 GB to 270 MB):
cd /work/newroot
tar cJf /work/initramfs/rootfs.tar.xz .
Create initramfs.gz using:
cd /work/initramfs
find . -print0 | cpio --null -ov --format=newc | gzip -9 > /work/result/initramfs.gz
Copy the kernel directly from the root filesystem using:
cp /work/newroot/boot/vmlinuz-*x86_64 /work/result/vmlinuz
The /work/result directory now contains two files with file sizes similar to the following:
ls -lh /work/result/
total 277M
-rw-r--r-- 1 root root 272M Jan  6 23:42 initramfs.gz
-rwxr-xr-x 1 root root 5.2M Jan  6 23:42 vmlinuz
These files can be loaded directly in GRUB from disk, or using iPXE over HTTP using a script similar to:
#!ipxe
kernel http://example.com/vmlinuz
initrd http://example.com/initramfs.gz
boot